Something To Remember...

Blessed is the man who, having nothing to say, abstains from giving wordy evidence of the fact. - George Eliot

Showing posts with label jewelry. Show all posts

Saturday, March 27, 2010

Braided Headband Tutorial

By request, I am doing a braided headband tutorial. For this headband I used stretchy t shirt material. You can use cotton just at easily!! The stretch material just gives it extra "give" for better fit somtimes.

For this project you need:

Three strips of your chosen material about 14 inches long. It doesn't need to end up that long, but it gives a little room for mistakes and for finishing the ends.

Needle and thread

A few inches of matching ribbon

A hair elastic. The no-slip ones work great

Any embellishment you choose. Plain can be nice too!


I start out by sewing together the ends of my three strips. I pull them first so that they roll up..


To hold in place while I braid, I safety pin the end to a pillow or something nearby.


I start out braiding, and I stretch the strips as I go. That way when you're done, and it retains it's shape, it's a nice tight braid. Keep going, keeping your fingers right below what you just braided.


I braid until it's long enough to go from behind one ear lobe to the other on my head. Holding you braid firmly so it doest lose it's tightness, sew the end just like at the beginning. Now, I firmly tack with needle and thread, the hair elastic to both ends. Make sure its firm so it wont snap!!


 To hide that area, I use a little bit of ribbon. I hot glued the end so it covers both elastic and the end of the braid, and wrap it around. tuck the edge of the ribbon under and hot glue that down. Do both ends and it's done!


Hope that makes sense???  For this one in the pic I did two braids and twisted them before sewing on my elastic. I added a navy blue ribbon bow with a little anchor charm. Nautical is HOT this summer!!

 With it:


Without it:
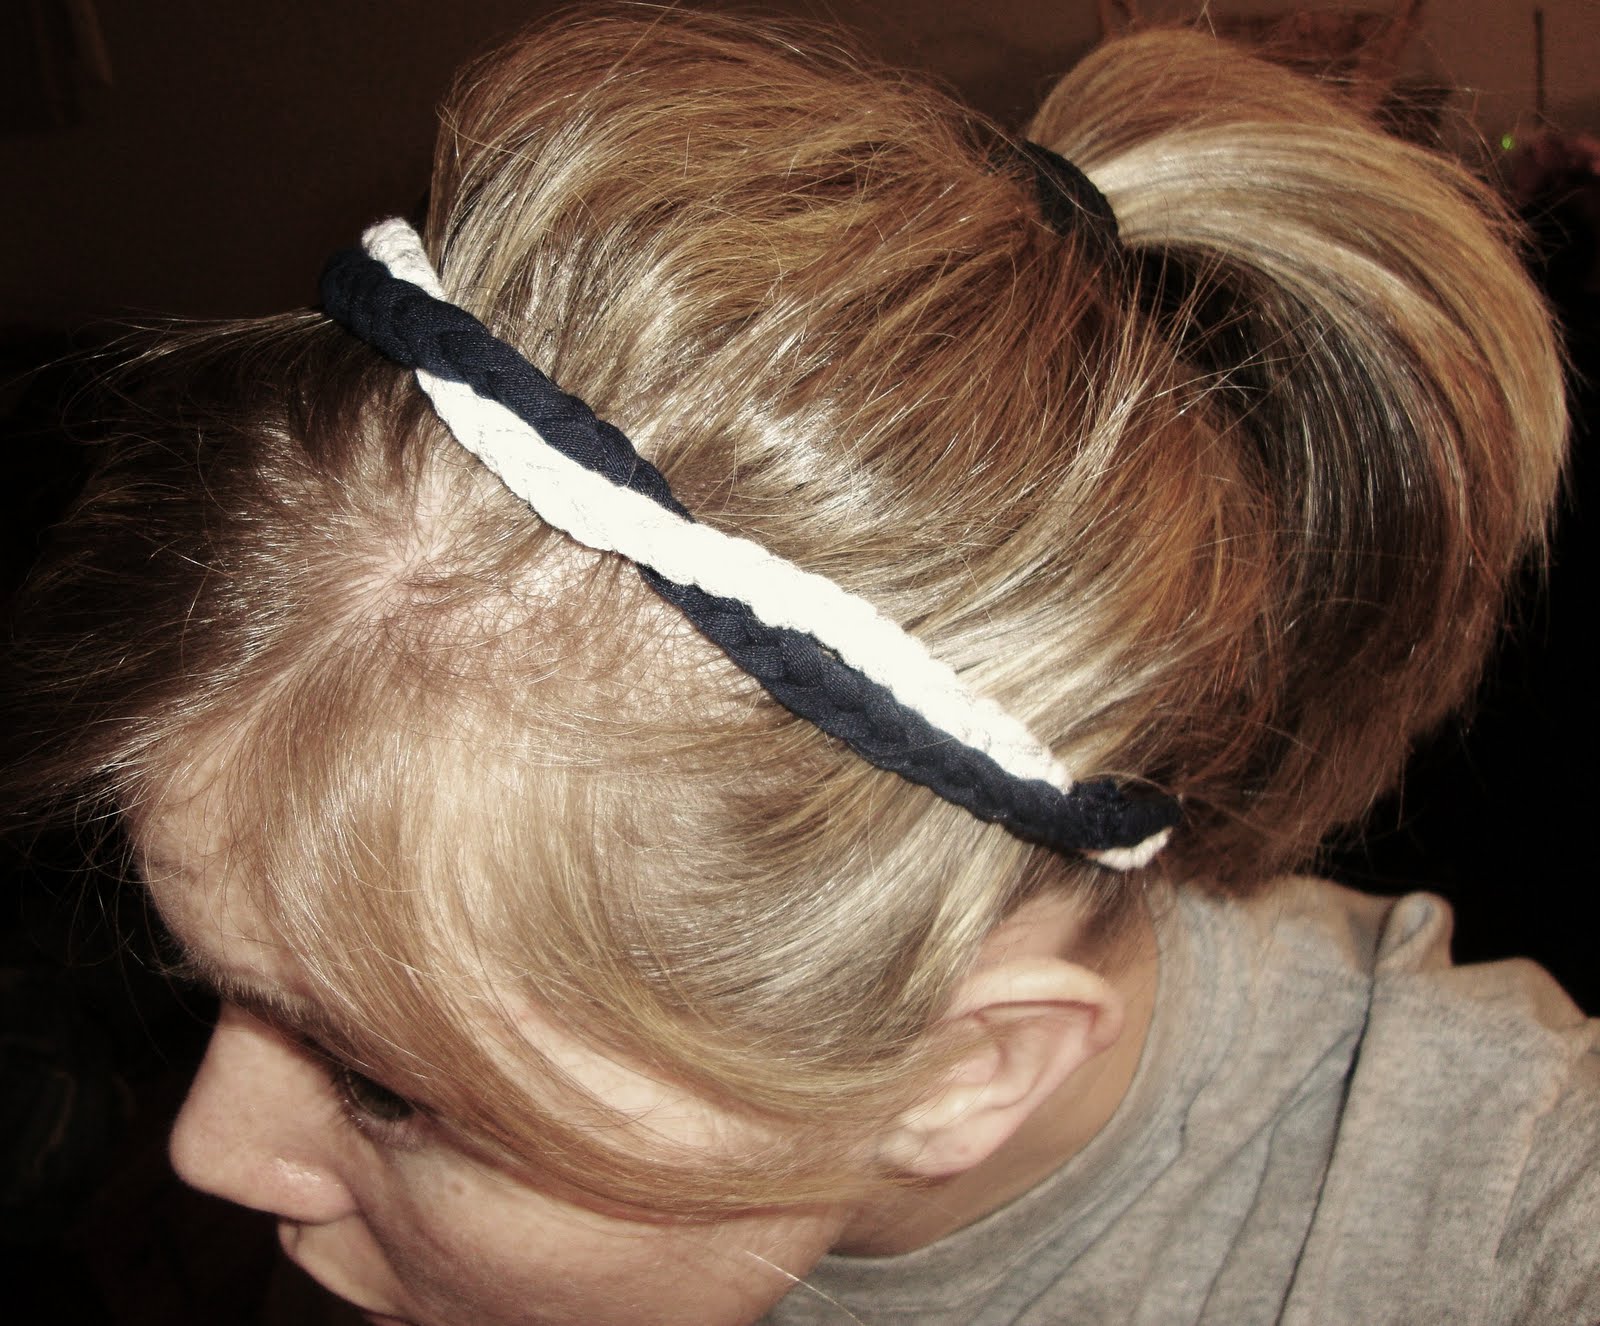


There you have it, folks!! Anything you don't understand, let me know.


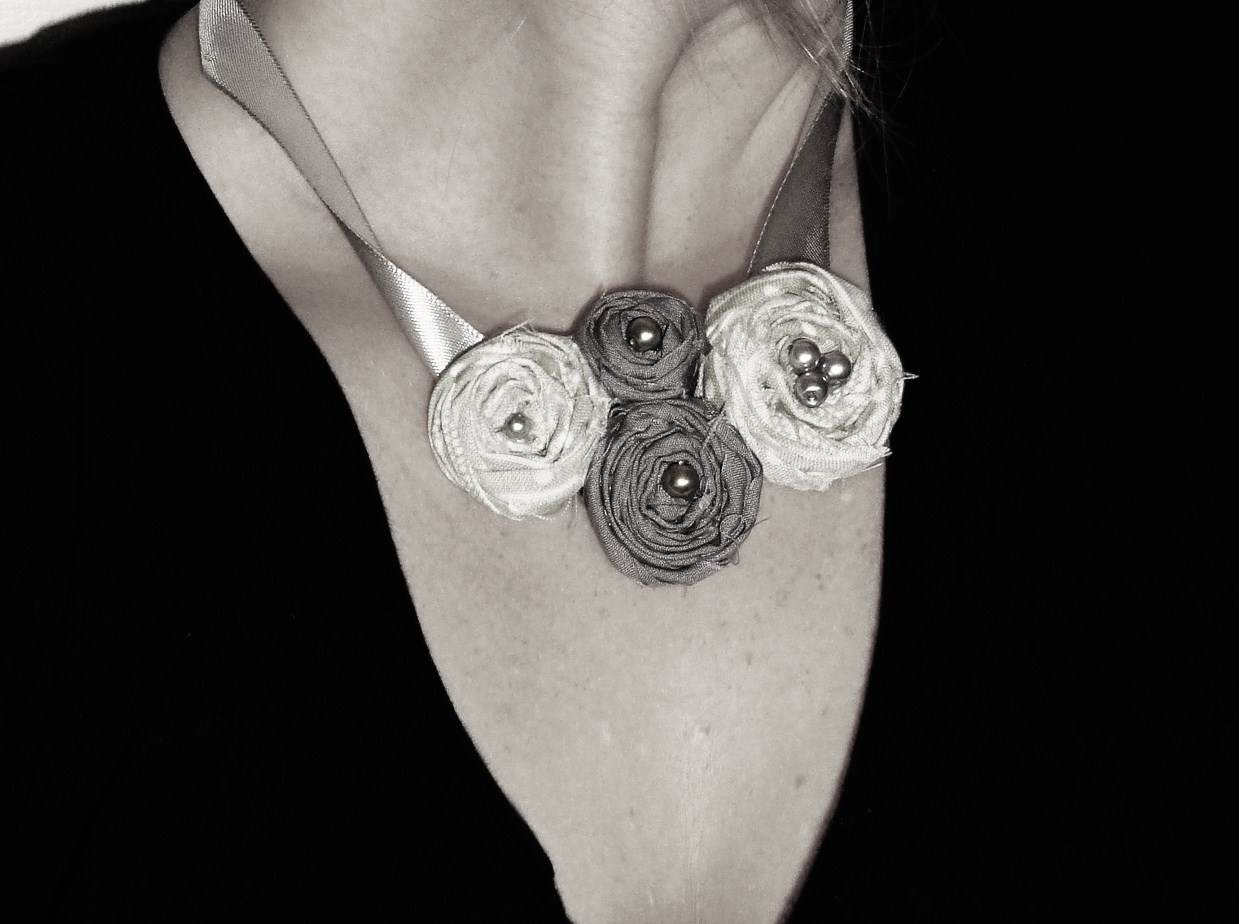
Also, while im here, what do you think of my new necklace??? I'm eventually going to add a chain intead of the ribbon I think...



Friday, March 12, 2010

A New Necklace/ Recycling Idea All In One!

Last night I dissmantled a necklace I bought from Forever 21. For my stature, it was to much... AND ahem, I'm on the busty side, so too much necklace looks bad :) I took half of the chains off and the longest strand of pearls.


It looked much better just like that, but I decided to add some emerald jersey rosettes on the side, and matching earrings from the leftover chain/pearls.


It's nothing to flashy, but a litte more dressed up than I normally wear. I love looking at jewelry, and sometimes I enjoy making it, but wearing it is rare for me. So that's all I did, and If I can get a few comments on this post I will do a rosette necklace tutorial/ giveaway!! Yep, that's right, my first giveaway!!

And to cap this post off, I just got this monster print flannel  from Jo Anns, and I made My son a monogramed toy sack (freezer paper stencil) and a changing pad from it. Notice the inside of the changing pad is a recylced plastic shower curtain, so it's wipeable. When my old one got moldy at the bottom, I salvaged the top 15 inches that was never touched by water, wiped it clean just in case, and used it. Wala!! Another way to repurpose and recycle!!!


Thursday, March 11, 2010

Super Simple Shabby Chic Necklace Rack

Really quick I'll share with you how I made my necklace holder. I needed one, because previously my jewelry had been hanging form tacks on a small cork board. HA! My hubby found this piece of white, distressed railing at the thrift store for 99 cents... He was going to use it for something, but the longer it sat around, the more I began to eye it... Then yesterday, I took it and made myself THIS:


Snooze ya lose!!! (actually he didn't mind :) AlI I did was measure accurately, and add pound in hangers to each end.


The jewelry hooks are just plain nickel plated brads with a small head so they don't slip off. Later on i'll probably add some kind of pretty stone, or pearl to cover the nail head.


And wala!! Your done!! Easy, simple, and totally shabby chic. And also, really quick, here is the earring holder I made from a cheap thrifted frame and some batting/material that I hot glued in. I didn't have mesh, or chicken wire which are popular for making these, but it works great!!!


Take care for now!! I'll be back.....
