Something To Remember...

Blessed is the man who, having nothing to say, abstains from giving wordy evidence of the fact. - George Eliot

Showing posts with label ribbon. Show all posts

Saturday, March 27, 2010

Braided Headband Tutorial

By request, I am doing a braided headband tutorial. For this headband I used stretchy t shirt material. You can use cotton just at easily!! The stretch material just gives it extra "give" for better fit somtimes.

For this project you need:

Three strips of your chosen material about 14 inches long. It doesn't need to end up that long, but it gives a little room for mistakes and for finishing the ends.

Needle and thread

A few inches of matching ribbon

A hair elastic. The no-slip ones work great

Any embellishment you choose. Plain can be nice too!


I start out by sewing together the ends of my three strips. I pull them first so that they roll up..


To hold in place while I braid, I safety pin the end to a pillow or something nearby.


I start out braiding, and I stretch the strips as I go. That way when you're done, and it retains it's shape, it's a nice tight braid. Keep going, keeping your fingers right below what you just braided.


I braid until it's long enough to go from behind one ear lobe to the other on my head. Holding you braid firmly so it doest lose it's tightness, sew the end just like at the beginning. Now, I firmly tack with needle and thread, the hair elastic to both ends. Make sure its firm so it wont snap!!


 To hide that area, I use a little bit of ribbon. I hot glued the end so it covers both elastic and the end of the braid, and wrap it around. tuck the edge of the ribbon under and hot glue that down. Do both ends and it's done!


Hope that makes sense???  For this one in the pic I did two braids and twisted them before sewing on my elastic. I added a navy blue ribbon bow with a little anchor charm. Nautical is HOT this summer!!

 With it:


Without it:
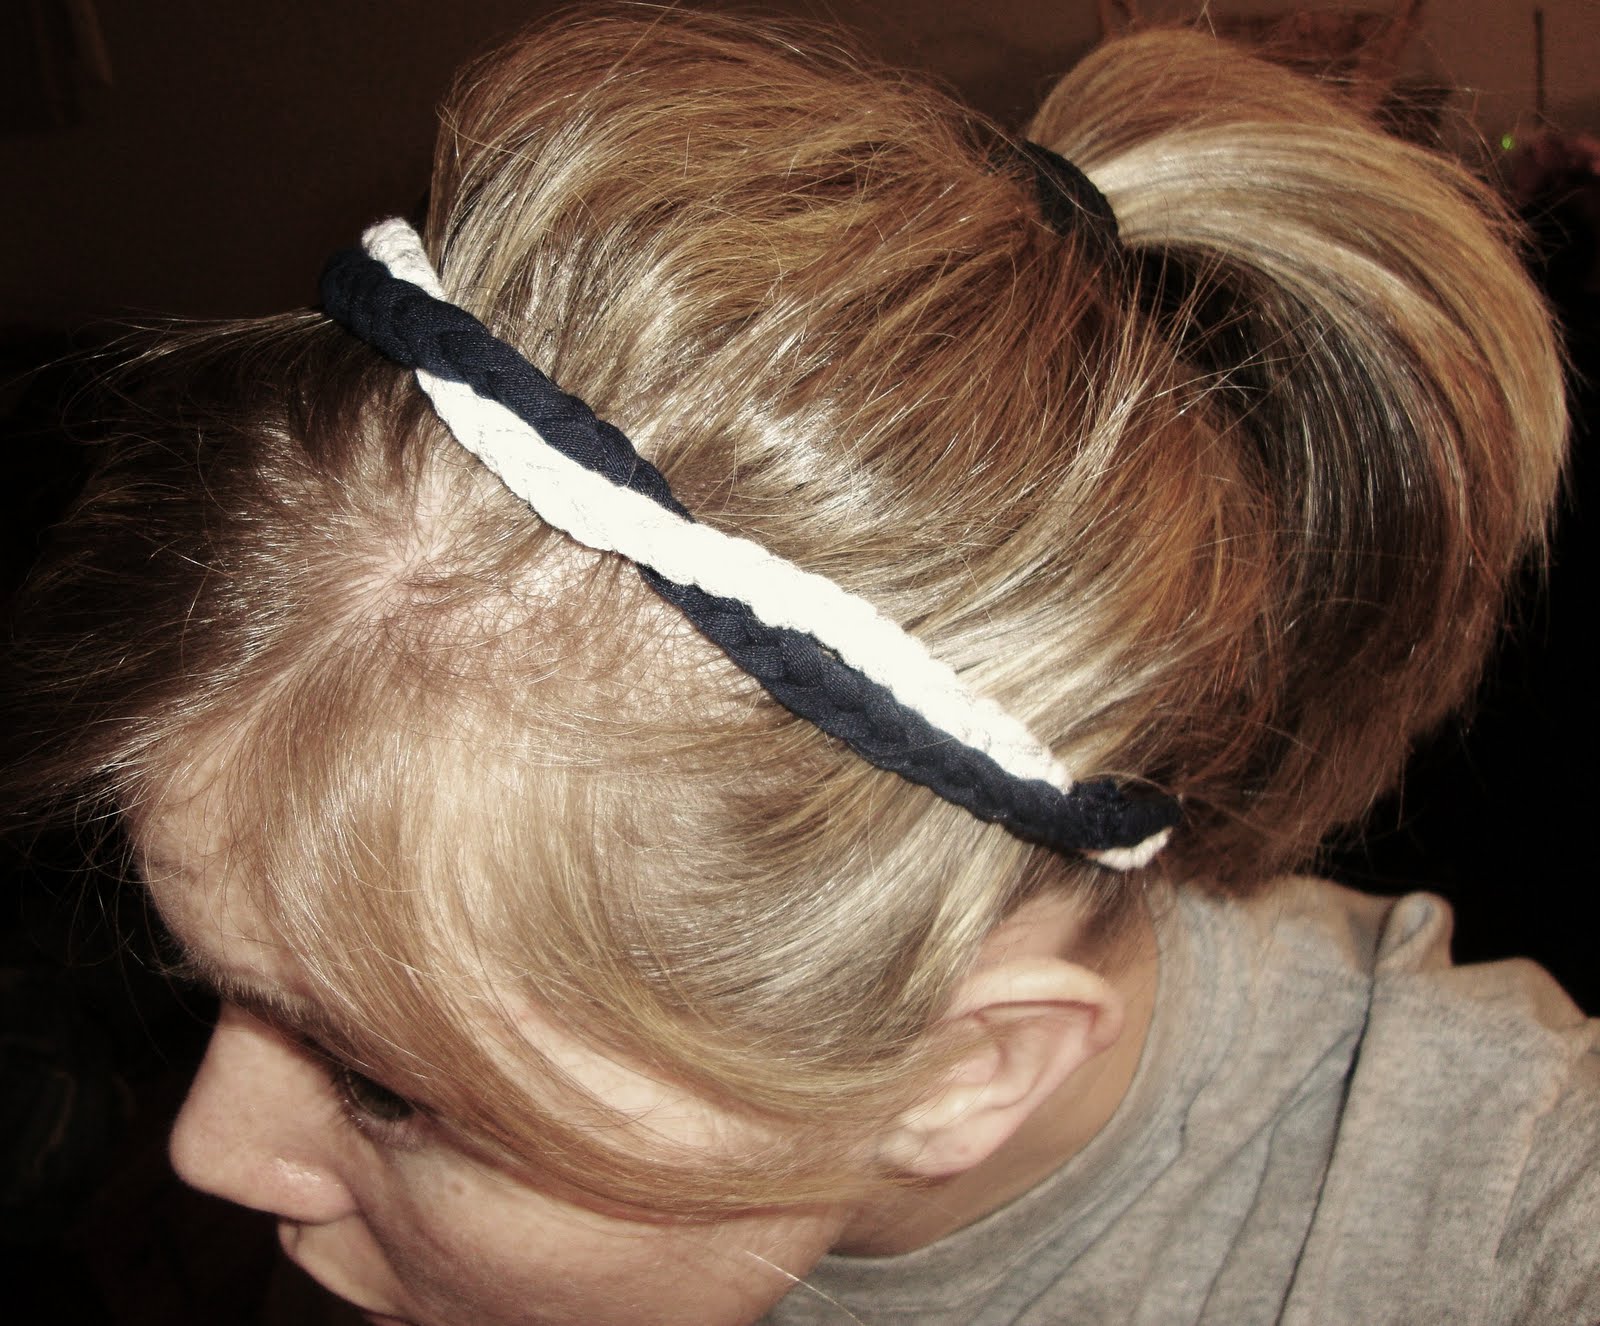


There you have it, folks!! Anything you don't understand, let me know.


Also, while im here, what do you think of my new necklace??? I'm eventually going to add a chain intead of the ribbon I think...

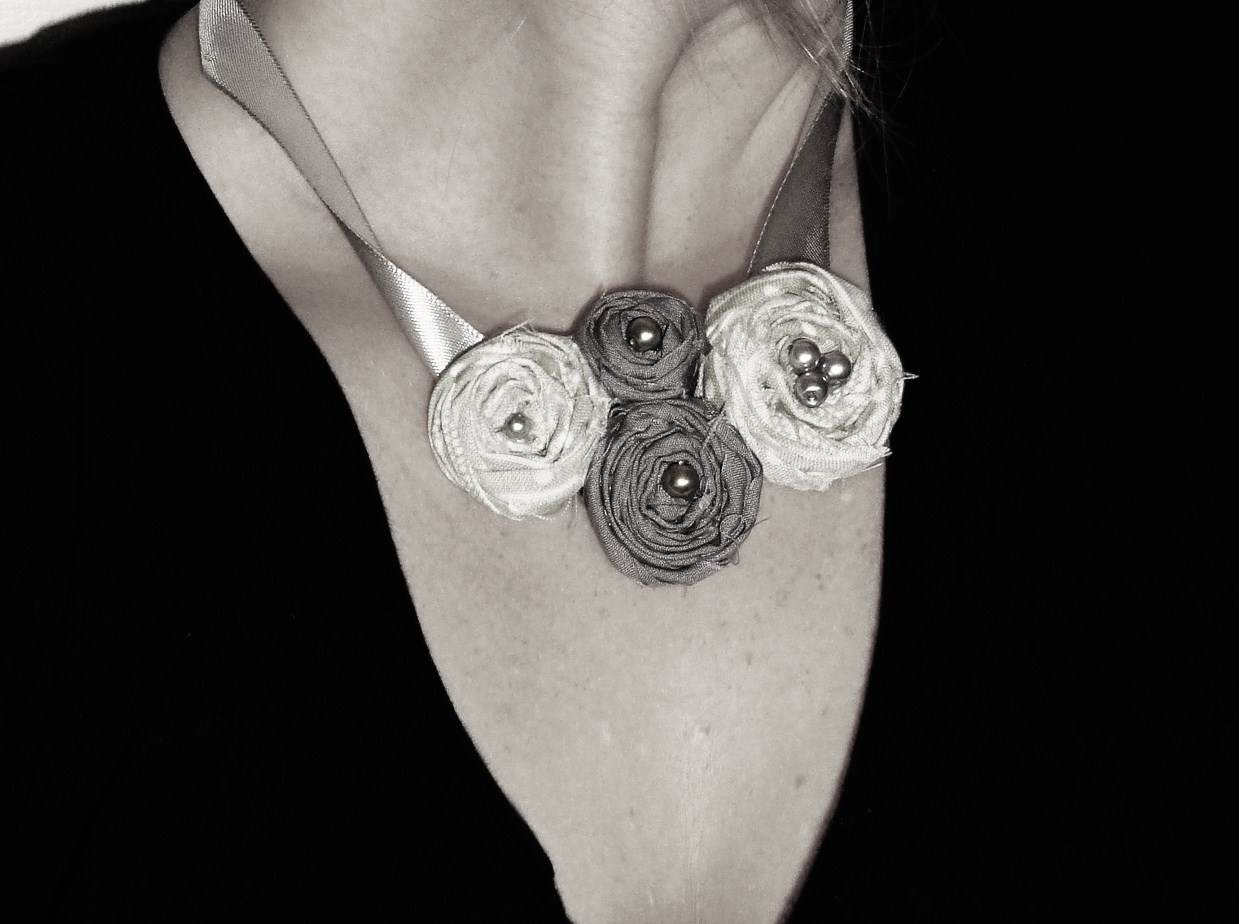


Friday, March 19, 2010

Bedside Tray From Broken Picture Frames

I desperately needed a little tray on my nightstand so that my jewelry, phone etc, could be kept out of reach of baby hands! My son has a bad habit of stealing things off of it, and putting them in inappropriate places such as the toilet, his mouth, under the bed, and so on.

In our last move, some frames of mine were broken, and here's what I did with two of them.


The frame I used was a double 4 by 6 frame on a hinge. I just folded it up and wrapped it with ribbon. I chose black satin ribbon ( and ran out of it hence the last bit finished with grosgrain you will see in my pics), and about every 6 wraps I put a dab of hot glue to secure it.  I did wrap it VERY tight, and hot glued the last big of ribbon in place securely on the side I chose to be the bottom.


Next I chose a nicely patterned fabric, and cut it to the size of my glass.


The glass and backing I used was from a 5 by 7 sized frame. I tacky glued the edges of the glass and smoothed my material onto it. I put tacky glue on the edges of cardboard backing and put that on the fabric side, sandwiching it in between, so the printed side of the fabic showed through the glass. I put a couple heavy books on it for one hour to dry... This is your tray bottom. To attach my two pieces together to form the tray, I used Gorilla glue. Make sure you read the instructions if your going to use it, though, because it foams alot, but is permanent! I put a thin line around the bottom my my frame piece and put it squarely onto the bottom piece. I put heavy books onto it for two hours to dry.


Now, for the "legs" of the tray I used little floral marbles that you see in fake flower arrangements or little indoor fountains. You can find them at any dollar store craft section. I glued two marbles together with hot glue on the flat sides, and then glued a "leg" to each corner like so:


As the finishing touch I added trim to hide the seam where we glued our two parts together.


 And now you have an anything tray!! Even a little bathroom tray or a candle dish!!


 Have fun using up some old or damaged frames! :) You could probably be alot more professional than I was too!!


Tuesday, March 9, 2010

Easy Peezy Pretty Car Air Freshener ~

 We had been saving for quite awhile, and this year were able to start looking for a newer car. My old 95 Camry has been a great car, but it was time to move on.  Ive had it since I was about 17, and it has been across the country numerous times. Now that we are starting a family, we realized we needed a newer car, more relible, with less miles, etc....  A couple days into looking we found an awesome 1999 Subaru Outback and knew this is what we needed! So now I'm all set to be a REAL mom in my Subaru Wagon, woooohoo!!  Anyway, while taking it on our first road trip, I realized I needed to put something in it to make it MINE ours. Since i'll be driving it almost all the time, because the hubby has his truck, I went ahead and made a pretty little air freshener for it.


All I did was take some wool scraps, ( I used wool because I thought the scent would last longer in that fabric) and using a wide mouth mason jar (about 3 1/2 inches in diameter), I traced a circle and cut two of them for the sachet part.


 I machine sewed them together leaving room for turning. After it was turned right side out, I filled it with lavender blossoms that had been dropped with an essentiol oil aromatherapy blend. Fill it up, sew the opening closed.


To make the flower part, I cut a bunch of 2 inch circles from my remaining wool, then folded each in  half, and then half again.


Starting in the middle of my sachet, I starting sewing my "petals" on until I had the effect I wanted. 


In the middle I hot glued some silver gray pearls in a cluster.


Don't mind the extra glue!! My glue gun went a litte crazy....To hang it, I cut 20 inches of ribbon and hot glued it in between the petals and the sachet.


To mak sure it would hang right I knotted the ribbon at the base where glued it on, if that makes any sense!

And now my car looks like my own, and smells good too! :)


You could use any fabric, and add any kind of beads, or buttons for the middle! Make it your own, or make several for different seasons. To refresh, just add acouple more drops of your choice of fragrance to a plastic baggie, and store the air freshener in it overnight!! make sure the oil or fragrance won't stain the fabric! Enjoy.
