Something To Remember...

Blessed is the man who, having nothing to say, abstains from giving wordy evidence of the fact. - George Eliot

Showing posts with label fabric. Show all posts

Saturday, March 27, 2010

Braided Headband Tutorial

By request, I am doing a braided headband tutorial. For this headband I used stretchy t shirt material. You can use cotton just at easily!! The stretch material just gives it extra "give" for better fit somtimes.

For this project you need:

Three strips of your chosen material about 14 inches long. It doesn't need to end up that long, but it gives a little room for mistakes and for finishing the ends.

Needle and thread

A few inches of matching ribbon

A hair elastic. The no-slip ones work great

Any embellishment you choose. Plain can be nice too!


I start out by sewing together the ends of my three strips. I pull them first so that they roll up..


To hold in place while I braid, I safety pin the end to a pillow or something nearby.


I start out braiding, and I stretch the strips as I go. That way when you're done, and it retains it's shape, it's a nice tight braid. Keep going, keeping your fingers right below what you just braided.


I braid until it's long enough to go from behind one ear lobe to the other on my head. Holding you braid firmly so it doest lose it's tightness, sew the end just like at the beginning. Now, I firmly tack with needle and thread, the hair elastic to both ends. Make sure its firm so it wont snap!!


 To hide that area, I use a little bit of ribbon. I hot glued the end so it covers both elastic and the end of the braid, and wrap it around. tuck the edge of the ribbon under and hot glue that down. Do both ends and it's done!


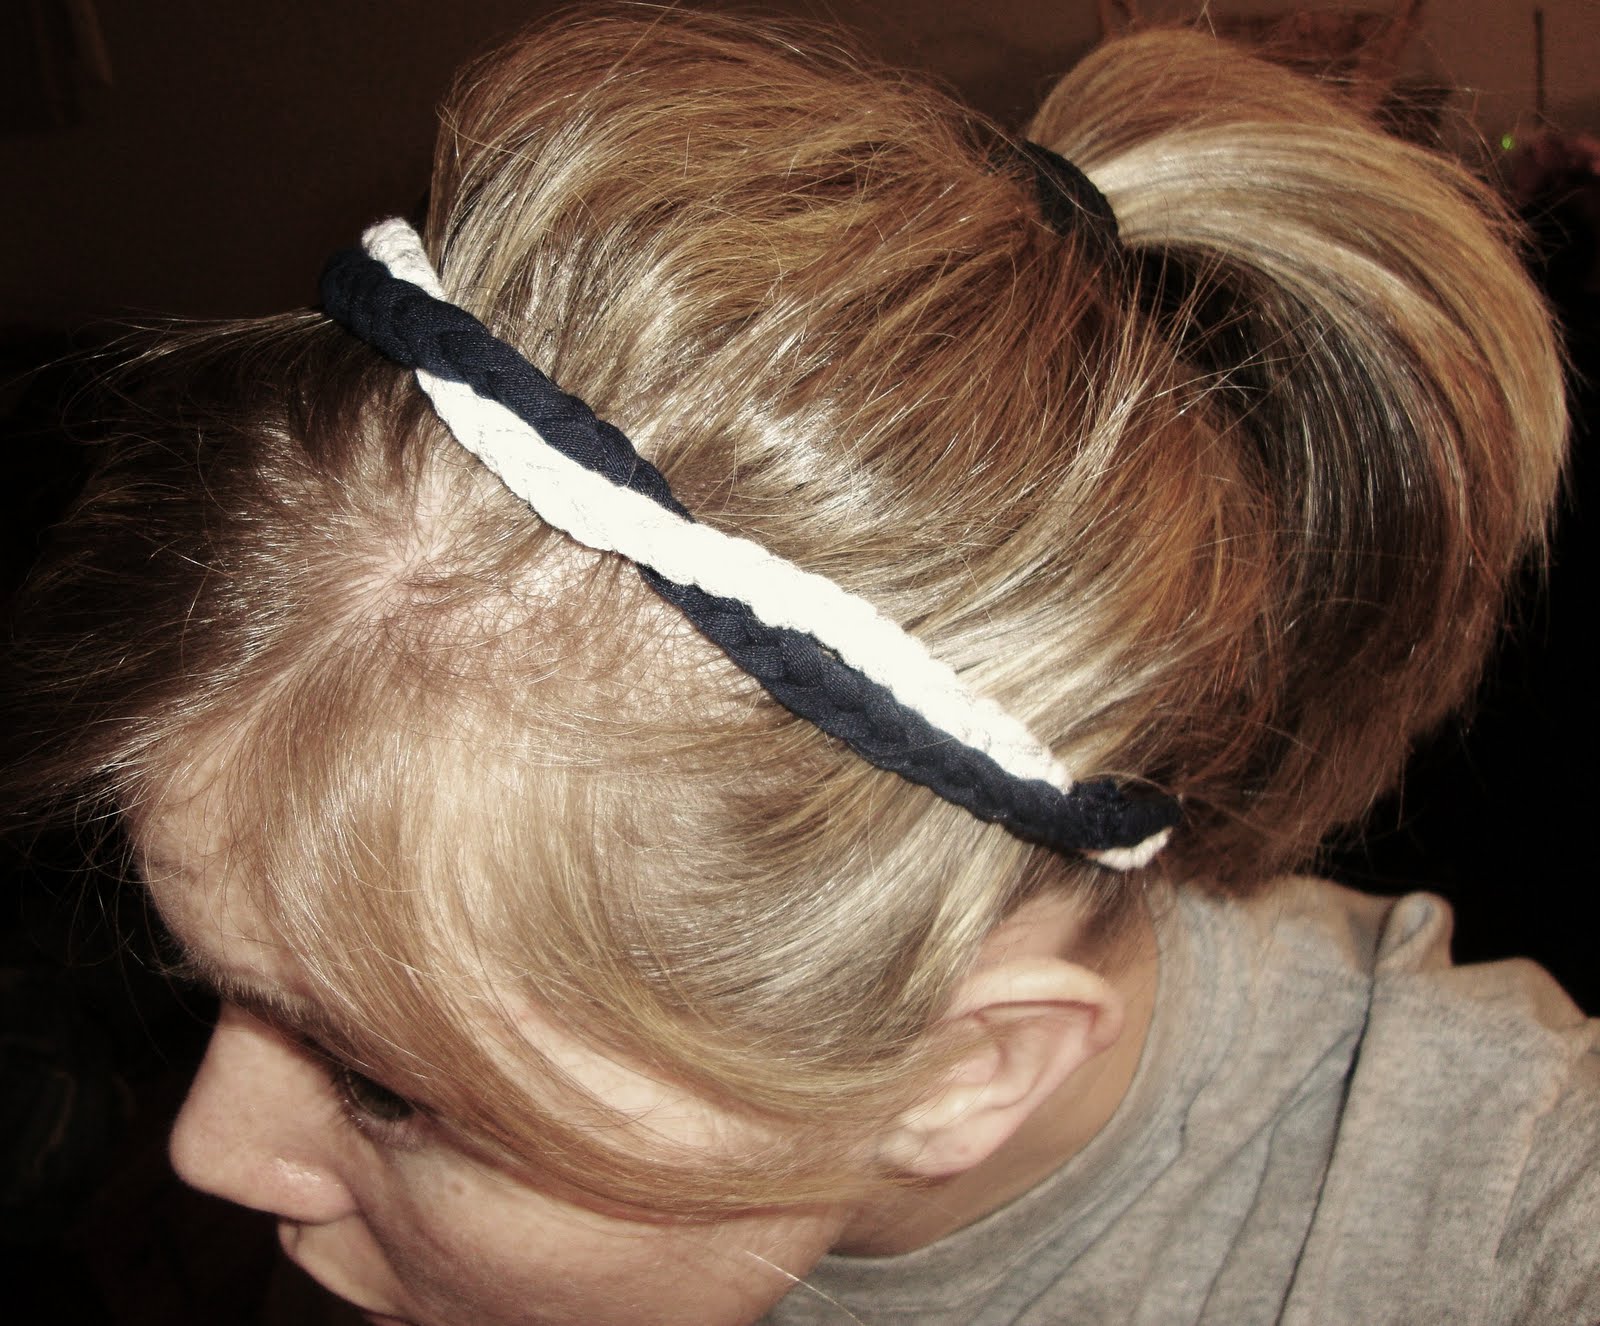
Hope that makes sense???  For this one in the pic I did two braids and twisted them before sewing on my elastic. I added a navy blue ribbon bow with a little anchor charm. Nautical is HOT this summer!!

 With it:


Without it:


There you have it, folks!! Anything you don't understand, let me know.


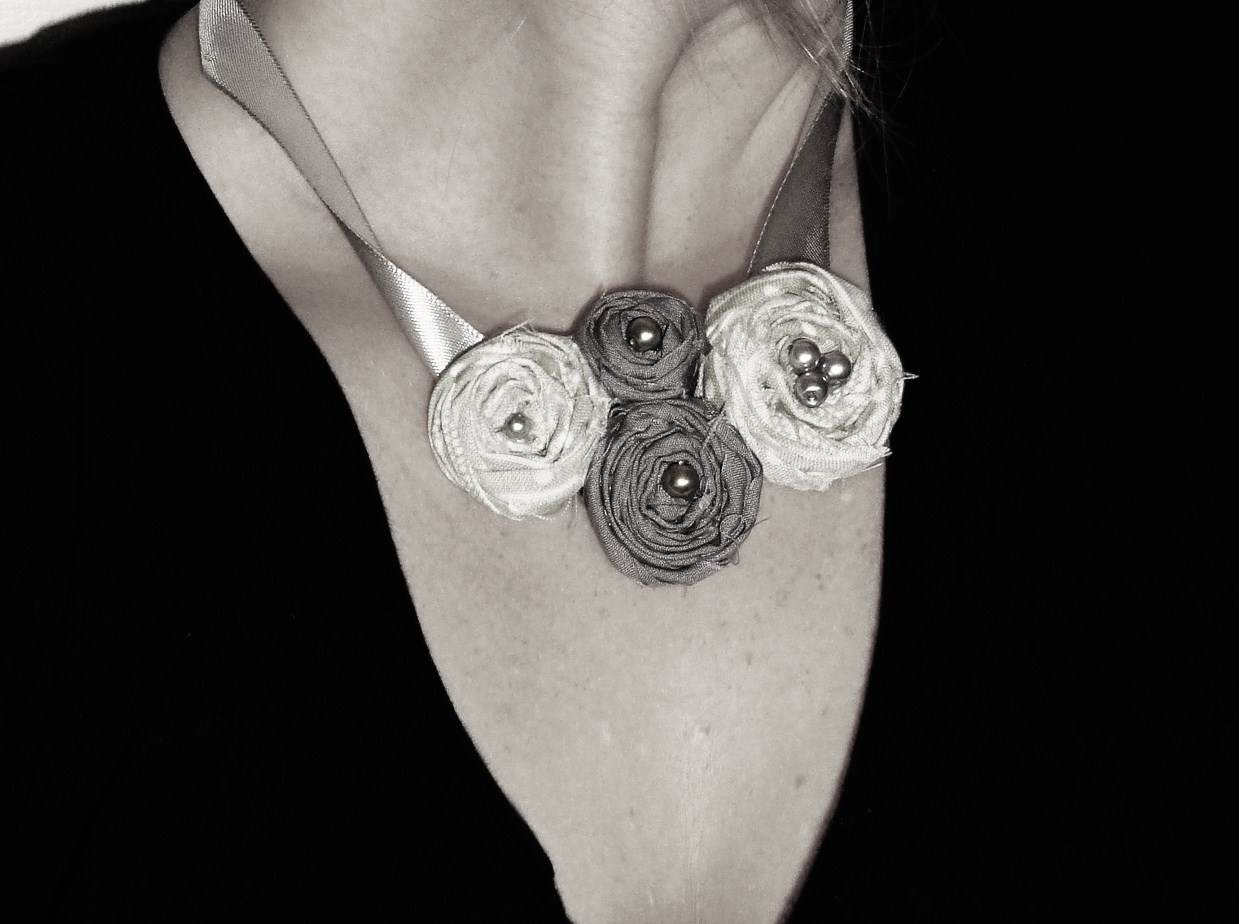
Also, while im here, what do you think of my new necklace??? I'm eventually going to add a chain intead of the ribbon I think...



Friday, March 26, 2010

"Hunky Pool Boy" Terry Cloth Romper Shorts

I've had this idea for awhile, and I wanted to make Gabe something for the summer to wear on the patio or around the kiddie pool. I made the shorts from two brand new terry cloth towels I found  super cheap at the second hand store. The pockets are leftover from my mens shirt to boys shirt refashion seen over here.  The stenciling is freezer paper stenciling. Heres the short process in pictures:

I cut out my pieces using a pair of his shorts


I made my pockets and stenciled them


I sewed the pockets on first and then assembled the shorts


And done :)


Um, model much?


Now try to keep your hunky pool boy away from the girls this summer!!!

Thursday, March 25, 2010

Mama's Got A New Diaper Bag!

I made this bag last night and I really like it!! I'm not the best at making bags, and this one has no pockets, but that's okay... I rarely use pockets. I try to simplify what baby stuff I do take out. And now with Gabe pretty much a toddler, I mainly take diapers,wipes, my wallet and keys, sippy and snacks. So here's my new bag with a matching diaper/wipes case :)


Pleated sides....


                        DON'T forget to enter my headband giveaway Right Here....

Wednesday, March 24, 2010

The Winner Is... And Another GIVEAWAY


*This Giveaway now closed*


My Braided Jersey Headband with Bow giveaway is now closed and we have a randomly chosen winner!!!

Congratulations, Erin! 

ERIN said...  "This is cute! I don't have alot of luck with headbands staying on so I would LOVE to try this one ;)"


Well,  now you get to, and I hope it suits you! I will give you 24 hours to email me with your address, and after that I will contact you, and try to get it in the mail as promply as possible! Thank you for all who entered. I will have more coming up so keep on trying and entering!! In fact, lets start another one right now!!

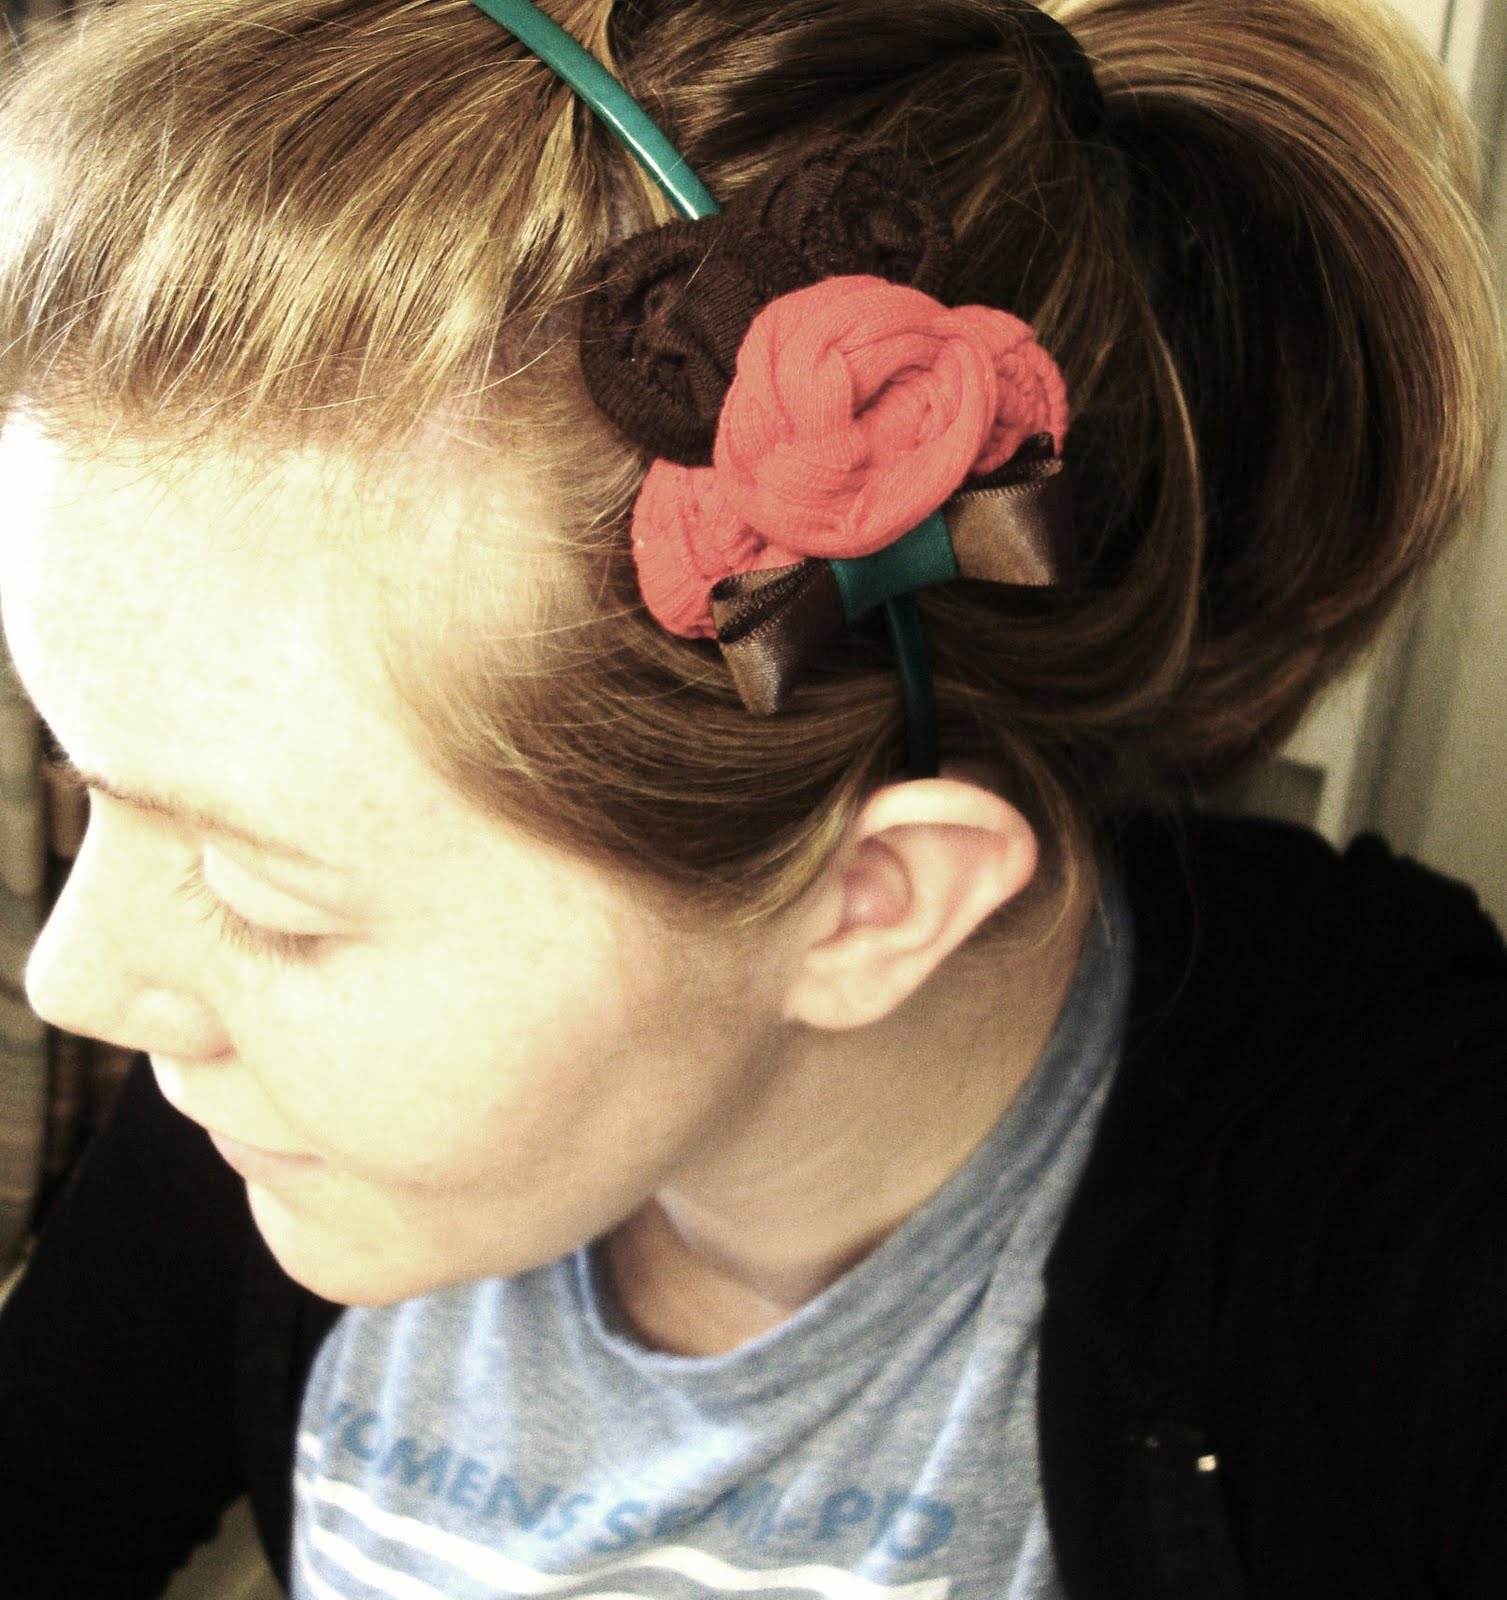
This next giveaway is for a brown and red knit rosette cluster headband with bow. The headband is from Forever 21, and all the rosettes and the bow are hand sewn with a felt backing.


Rules are the same as last time :)

1. If you like it, leave me a comments saying so!!

2. If you really like it, leave me two.

3. Extra points if you become a follower!

4. You cannot win if you do not comment :)


Good luck!! Let me know what you think!! This giveaway will end Sunday night, so hurry and tell your friends!


Tender Rose Earrings

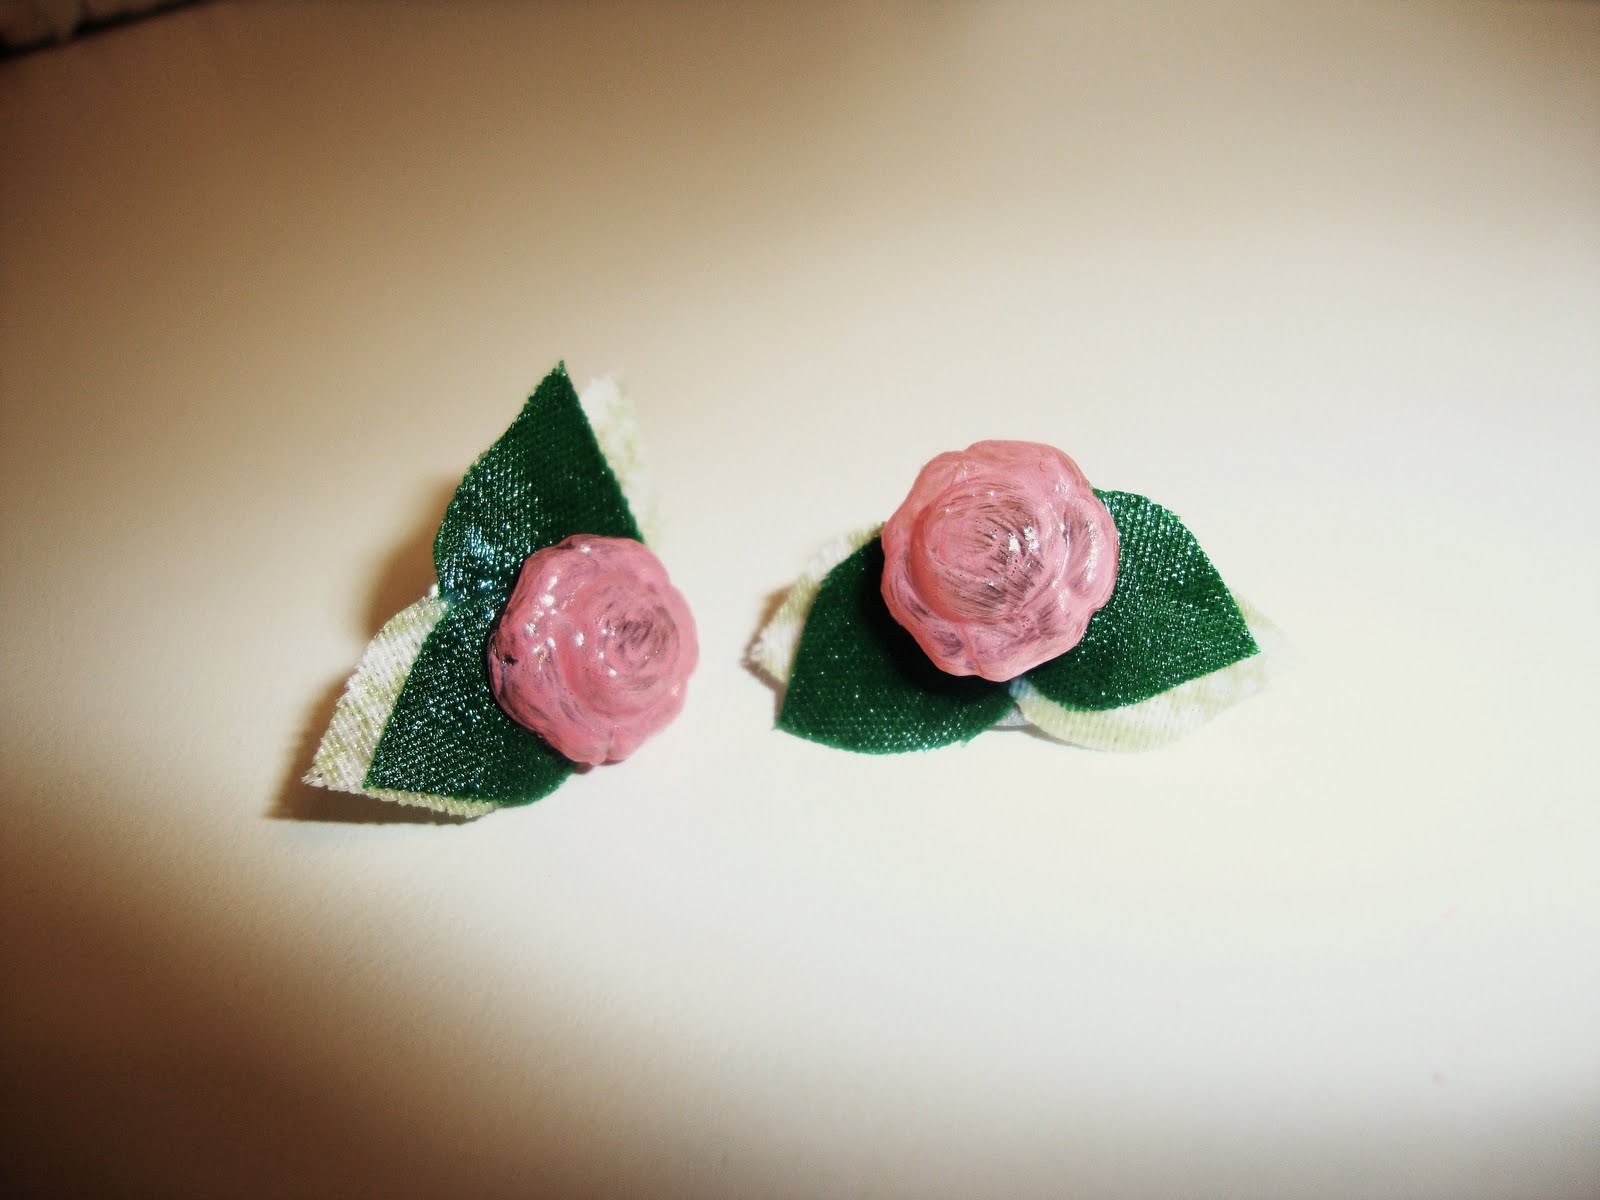
I couldn't help myself when I saw these little rose buttons at Jo Anns!! I HAD to make earrings!! They are just so pretty. I was going to just cut the button shank off the back and put them on posts, but I decided to add some little green fabric leaves too (which I painted with fabric glue so they wouldn't fray). Here's how they turned out:


As you can tell Idon't wear makeup very much when I'm home!!

AND REMEMBER, ONLY A FEW MORE HOURS UNTIL I PICK THE WINNER OF MY HEADBAND GIVEAWAY!!! When I post the winner tonight, I will introduce another one up for a giveaway!! Tell your friends :)

Key Finder Cabinet Makeover

Slowly I'm making everything in my house look just how I want it!! It's been a slow process so far. In the past two and a half years I've gotten married, made a big move to be with my hubby, set up a small apartment for a six month stay, got pregnant, made another big move, had the baby, and now I'm setting up house again.... and pregnant again!! But at least this time we are here for a longer stay, and this time I can put time and effort into it!

All I know is back when we were first married, my hubby wanted somewhere to put our keys, so one day while out "things" shopping, I got this little black key cabinet for like 5 bucks. Nothing fancy, but it would do. WELL NOW, it was past time for a makeover!

Here's the before:


Here's the after:


Heres what  did... I took the panel out from the door. It doubled as a picture frame, but I forgot a pic of that... I took the glass out and painted the backing in three coats of chalkboard paint. That way we could have a message board AND a key organizer!! Um, GREAT IDEA I said to myselft!! Then  I painted the cabinet a meadow green, which took three coats of acrylic paint. I cut strips of my fabric choice to fit the sides and top, and mod podged those on. Then I did mod podge over the entire thing to kinda seal it all in. For an extra touch I mod podged a flower right inside the back of the cabinet too. How sweet :) Now I think that's better!!


Hope you all are enjoying your day, and are finding something inspiring to do!

Wednesday, March 10, 2010

DIY Ruffled Candle Holder From Dollar Store Materials~

It was time to switch out the holiday/winter candles and bring out the fresh, spring/summer ones!! That includes the holders! I've been wanting to do this project for awhile, and it's a great scrap buster!! Also, I found the styrafoam forms at the dollar store. They have alot of styles, but I went with the tapered circle. Next time I'll do a square one!


For this project you'll need:

A Glue gun
Floral styrafoam forms
Plenty of your scrap fabric, in whatever color, or mix of colors you want

It's a slightly legnthy project due to the fact that half of it is spend cutting! Begin by cutting your fabric in cirles. Mine ended up not so perfect,  and not all the same size (I freehanded). That will actually give it dimention!! But I didn't cut them larger than 2 inches in diameter. I used three different fabrics in the white family for texture, and I love the linen throughout it.


Start placing your cirles on by folding the circle in half and placing a drop of glue in the center on the fold. Go all the way around leaving 1/4 space between each center of each cirle. You want the edges to stick up, thus creating the start of your "ruffling" effect. Go all the way around, and you will have this:


Starting another row by lifting the eges and gluing and tucking more cirles on. I only leave the first row 1/4 inch spaces, but as I go along I tuck them in closer togther to build more ruffle.


Keep going until all the stryrofoam is covered. Don't do the top and bottom. If you wish you could cut some fabric to cover the top if you will have exposed edges you don't want to see. But in the end, the bottom will not be seen...


This technique I used for The "truffle mirror" as my hubby calls it!! I does look like truffled chocolate!! (the mirror was 99 cents at the thrift store)


Hope I made sense!!! Let me know If I didn't. Have a great day!!